(→Step 2. Computer labs) |
|||
| Line 18: | Line 18: | ||
{| | {| | ||
| − | | | + | |{{introcaedm}} |
| − | | | + | |{{caedmcomputer}} |
|} | |} | ||
Revision as of 16:38, 28 March 2012
Step 1. Create an account
If you are eligible, create a CAEDM account. You may not use any college computing resources without creating a CAEDM account and agreeing to the policy.
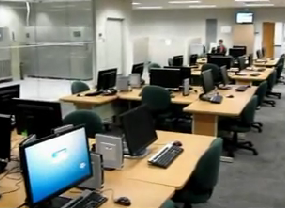
Step 2. Computer labs

After creating an account, you will receive the lab door code for the three CAEDM labs.
- 308 Clyde Building
- 425 Clyde Building
- 450 Crabtree Building
Step 3. Using a CAEDM computer
Many of the programs you may need to complete coursework will not be in the start menu as would be expected. CAEDM uses thin client computers to access remote computing resources such as RGS and Citrix. You will need to become familiar with RGS and Citrix to access software. Printing on CAEDM computers uses special software for printing. Only one printer will appear in the printer selection. You will need to learn to use the CAEDM Print Driver.
We highly recommend you watch these two videos to get started.
| Template:Caedmcomputer |


