- Right-click the network settings button in the bottom right of the start bar
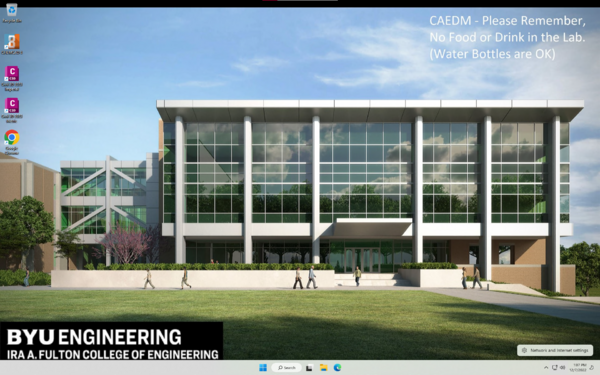
- Click the button Labeled 'Network & Internet Settings'
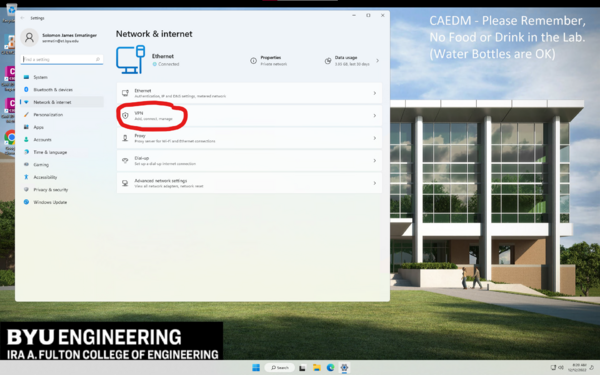
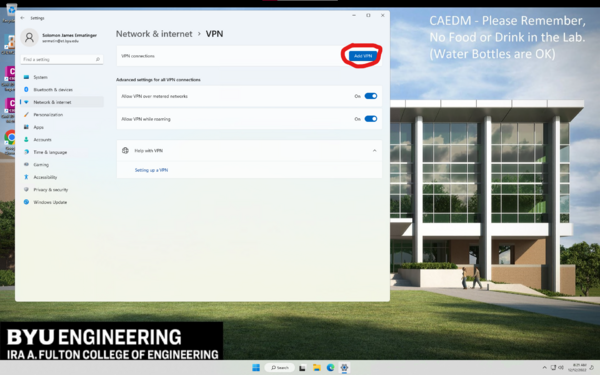
- Select VPN under 'Network & Internet'
- Press the 'Add VPN' button.
- Fill out the boxes selecting the built-in VPN provider, a unique connection name, vpn.et.byu.edu for the server name/address, IKEv2 VPN type, and your CAEDM username and password.
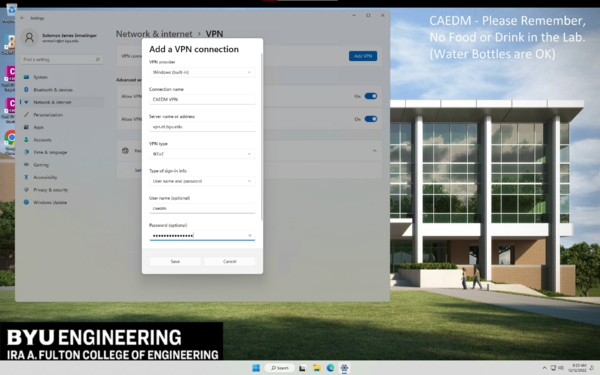
- Save the VPN connection
- Press the 'Connect' button.

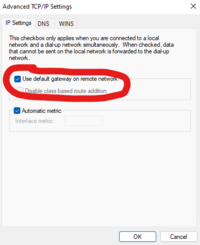
- Enable "Use default gateway on remote network" (in other words, disable Split Tunneling)
- Follow steps 1-2.
- Select the 'Advanced network settings'.
- Click on 'More network adapter options'.
- Right-click the newly created VPN connection and select 'Properties'.
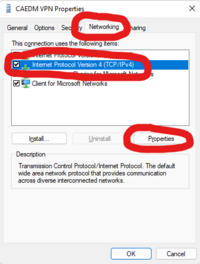
- Then move to the 'Networking' tab.
- Select the 'Internet Protocol Version 4 (TCP/IPv4)' and then press 'Properties'.
- Put a check mark next to Use default gateway on remote network